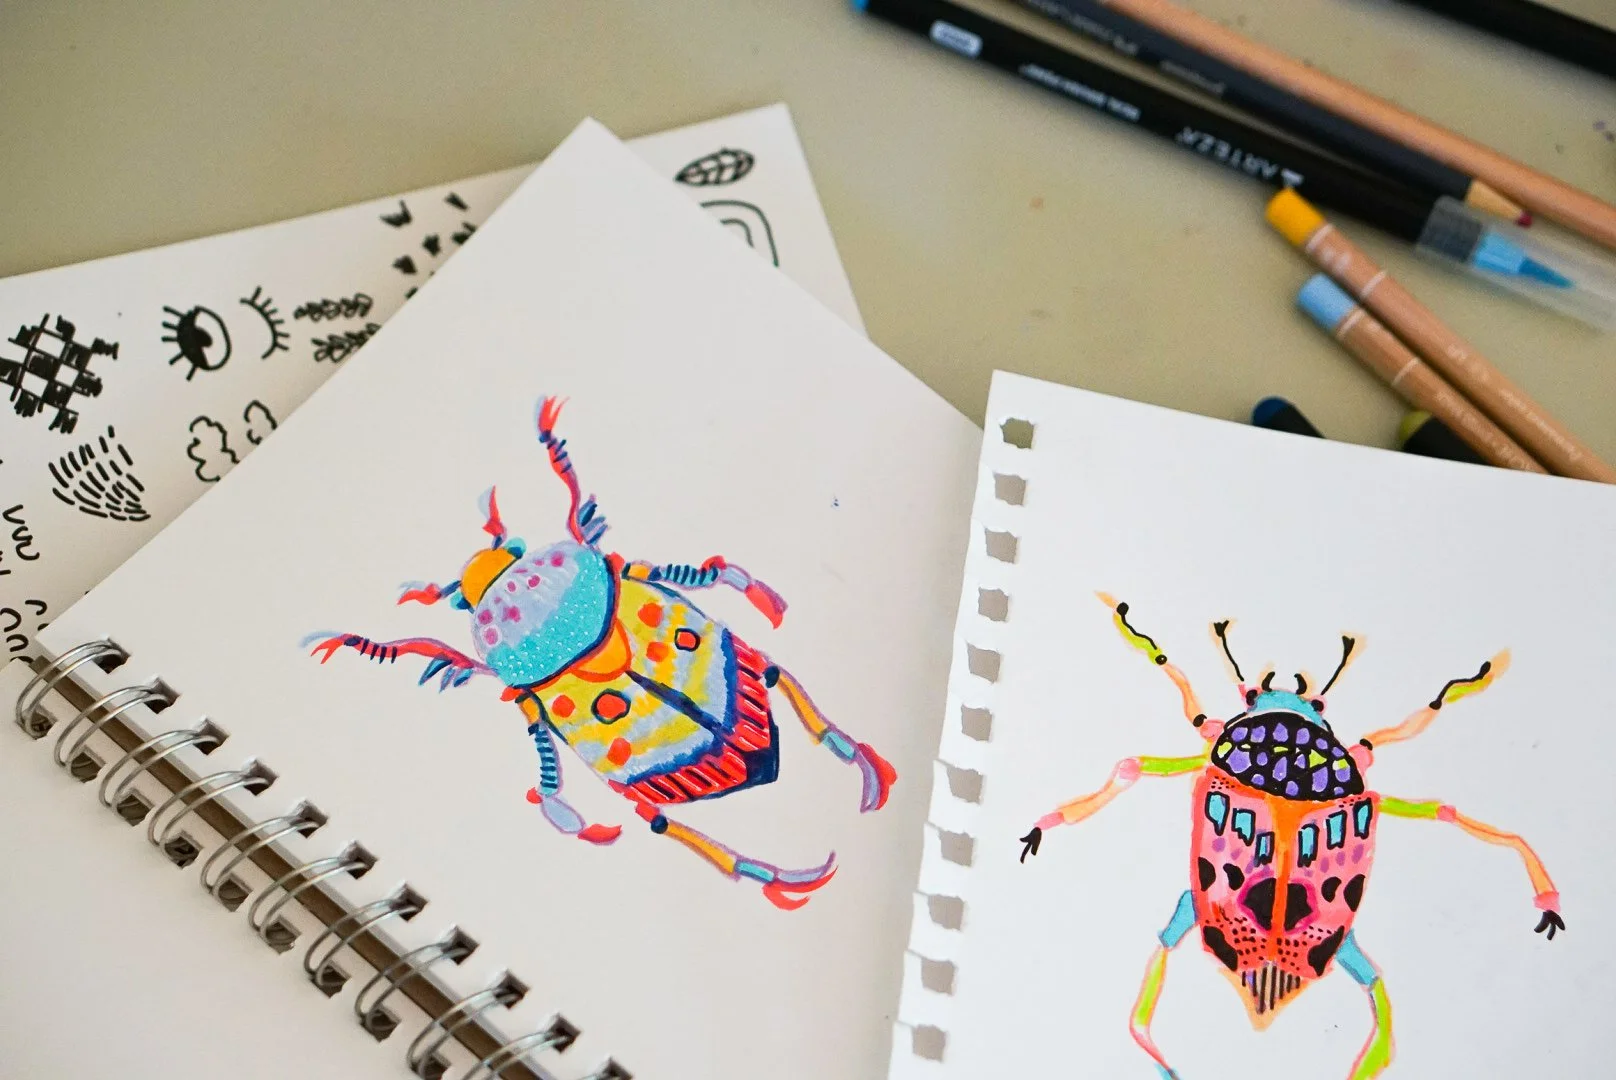
Bug Out!
COLORFUL INSECT DRAWINGS
Lesson Overview
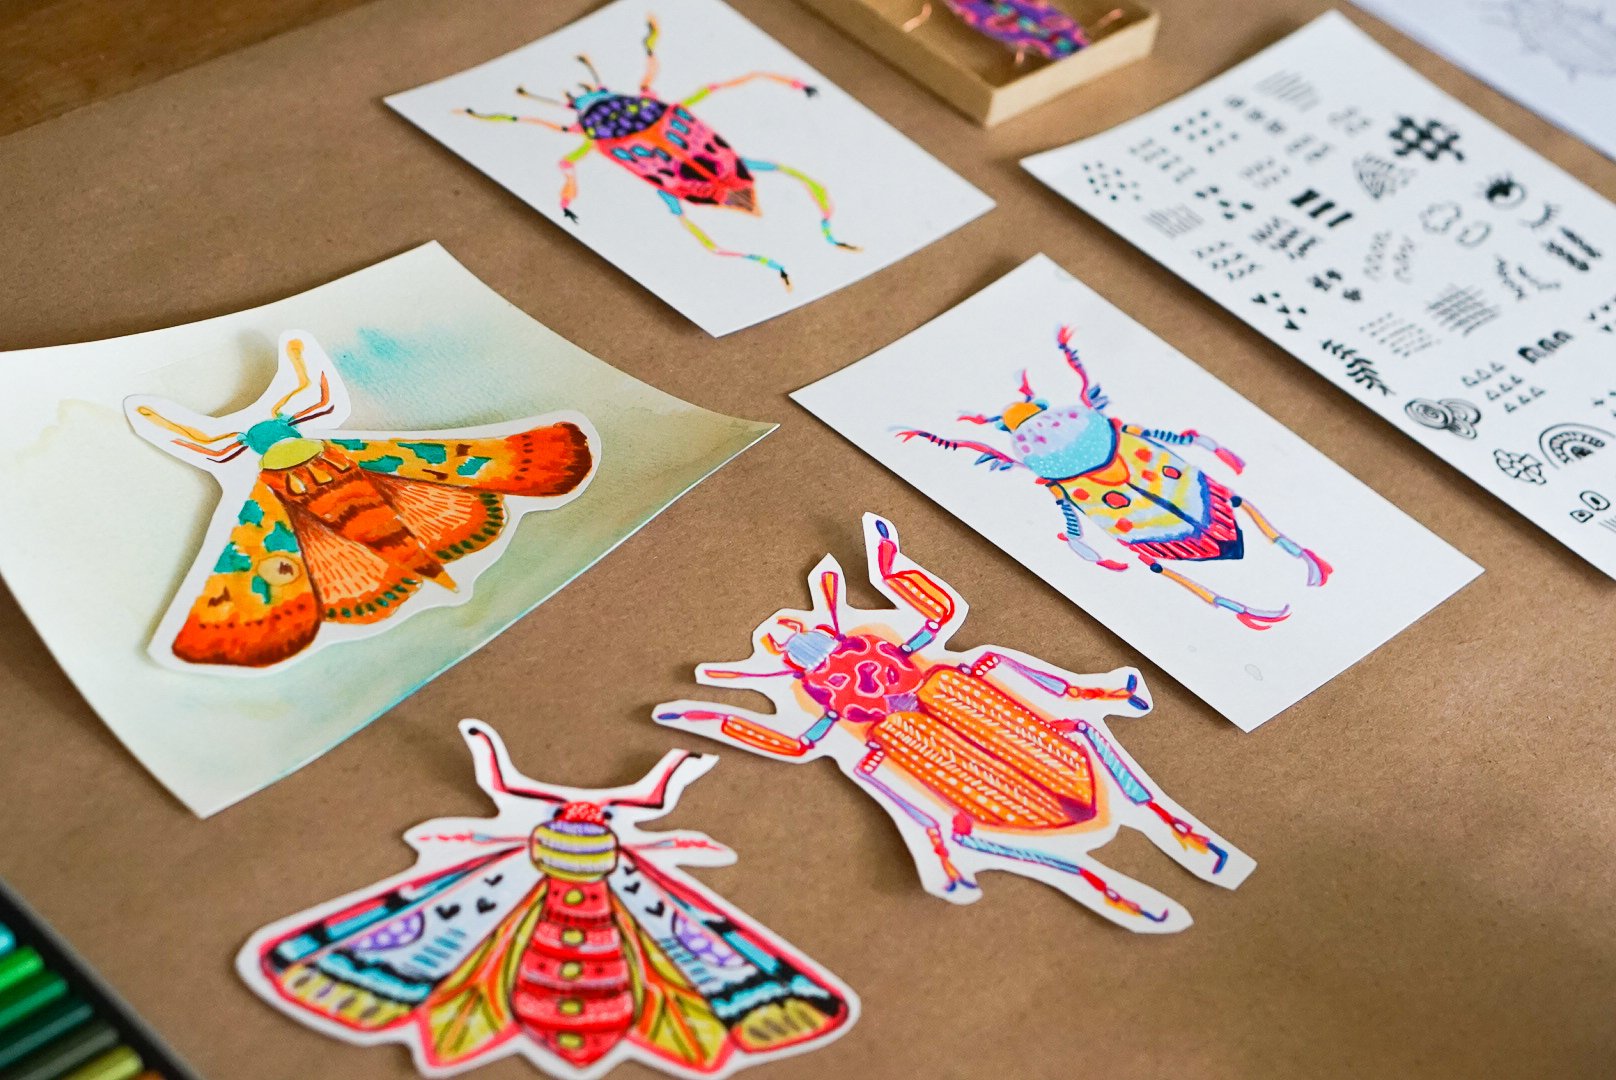
Through this art lesson, we will explore shape, pattern, design and creative color palettes. I encourage you to get creative and think outside of the box to personalize each bug in your own style. The bugs can be created as framed art, turned into cards, or can be cut out and placed onto backgrounds / scenes, or transformed into shadow boxes for a more finalized piece. Browse below for step-by-step directions and our student gallery or download our guide in pdf format.

When working with kids, I love to show them an example and guidelines but I want to leave enough space for free exploration. My goal is not to limit their imagination rather, help them follow it.
Art Supplies
-
Substrates
Mixed Media or Watercolor Paper
-
Drawing Materials
Markers, Brush Pens, Colored Pencils, Crayons, Mechanical Pencil, Sharpie or Black Marker, White Gel Pen Note: you could also use craft paint, acrylics, gouache, or painting markers
-
Shadow Box or Cut Out Background Supplies
Hot Glue Gun, Foam Tape, Watercolors, Paper Mache or Kraft Jewelry Boxes
-
Decorating Materials (Optional)
Glitter Glue, Wire, Beads, Gem Stickers, Collage Pattern Paper or Tissue Paper


Step by Step Process
Step 1

GATHER MATERIALS & CREATE SPACE TO CREATE
Gather and collect your materials and make space for creating! Depending on the desired finished piece you can use various paper sizes. I like to work with standard sizing in case you want to fit the finished piece into a frame or envelope. Start by cutting your paper accordingly 4”x6”, 5”x7” or 8”x10”. For the shadow box bugs, I found a 2”x3.5” box so I cut the paper to fit. Select your size and begin!
Step 2

PICK YOUR CRITTER TO DRAW
Now it is time to select the critter you want to draw! Ideas for insects include beetles, moths, butterflies, flies, praying mantis, grasshoppers, caterpillars, millipedes, worms, ants, hornets, and bees.
Step 3

DRAW YOUR BUG OUTLINES
Start by drawing the outline of the bug using basic shapes with any material of choice (pencils, colored pencils, or black markers or pens). Draw the outline of the head and the body in basic form. If you plan on putting your bug into a shadow box, wait to add the details like the legs and antennas. If you want to make this a card, or framed art piece, begin adding the details such as eyes, wings, legs, antennas etc.
Note for little kids: you can print out outlines of bugs for the younger kids to fill in with color, pattern and design.
Step 4

ADD PATTERN & DESIGN
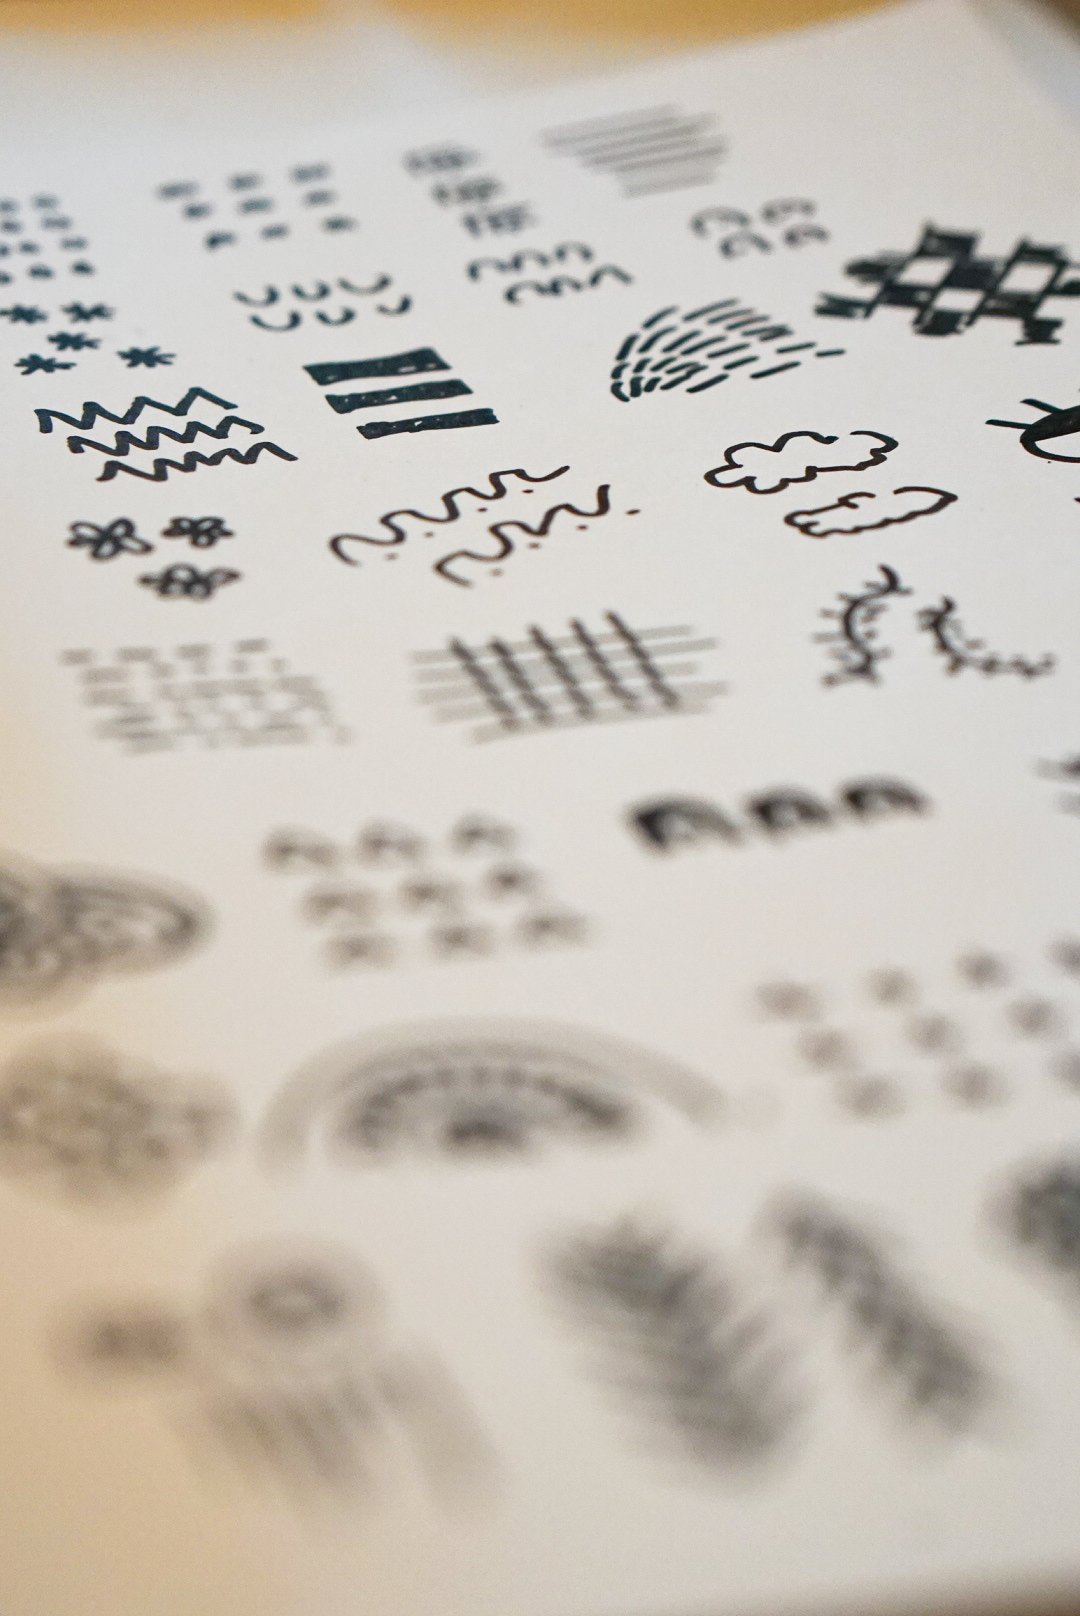
In this portion, we discussed pattern and design ideas. I drew out some fun patterns below to give the kids some ideas to get started. We also talked a little about mixing various materials to add interest such as pencil and marker. Allow the students to get playful with colors. I also encouraged them to think outside the normal palettes of bugs in nature.
Next, jump right in and add your colors and patterns to the bugs. You can also add in beads, sequins, collage paper, tissue paper, and ephemera to your drawings.
Step 5

FINISHING TOUCHES: BACKGROUNDS OR SHADOW BOX BUGS
I always love to find ways to make a piece feel finalized. The bugs could be framed as is, used as cards, or could be cut out and put onto backgrounds, or turned into little shadow boxes.
For a bug with a background, I cut watercolor pieces of paper to 4”x6”, 5”x7” or 8”x10” (sizes easy to frame). On these papers you can create watercolor washes mixing water and watercolors or create your own playful backgrounds to place the bugs into a new scenery. Once your background is dry, cut out your bug and secure them to the background paper with foam tape or hot glue. We ended up stacking a few pieces of foam tape so the bugs were raised slightly off the background for more of a 3-D effect.
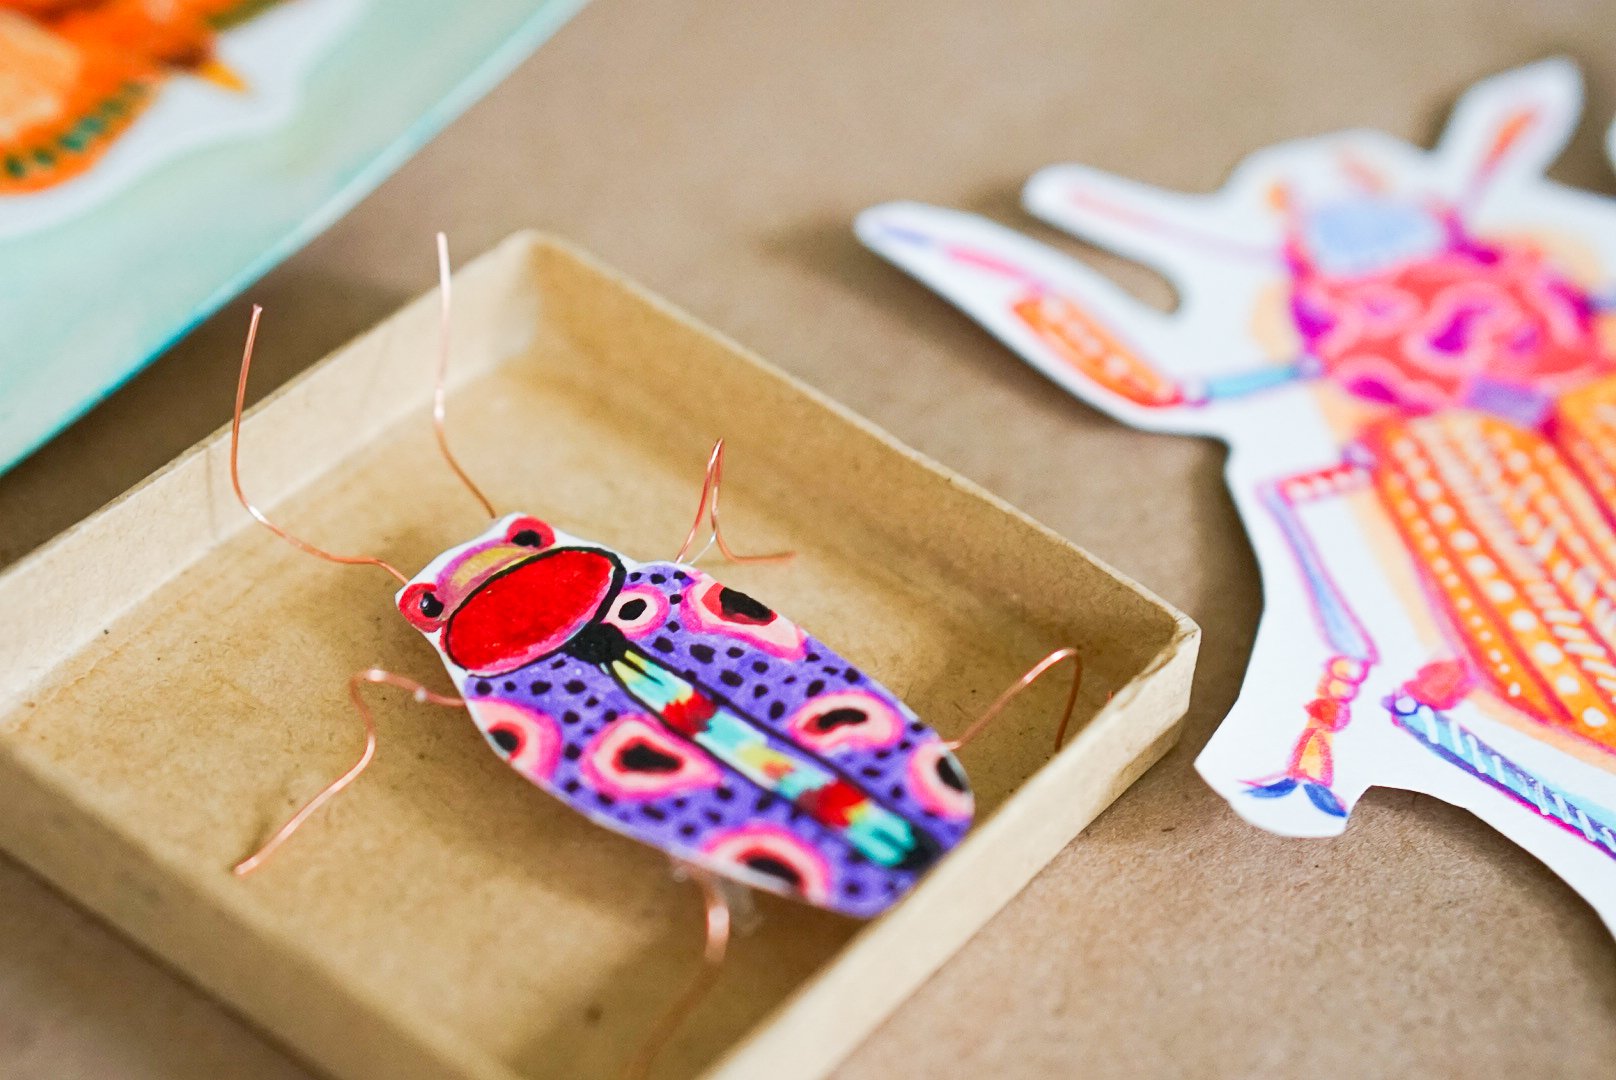
To create shadow box bugs, make sure you start with a paper size that will fit into the box. If you can’t find a box, an old altoid tin case can work. Create a simpler body shape with the head and body only of the bug. Then cut them out leaving a slight white border around. Then you can add your design and patterns. Next, hot glue pieces of cut jewelry wire onto the back of the bugs as legs and antennas. You can form or shape the wire to your desired shape. The bugs can then be glued inside the boxes using hot glue. I loved how creative everyone got here adding panorama scenes to their boxes.
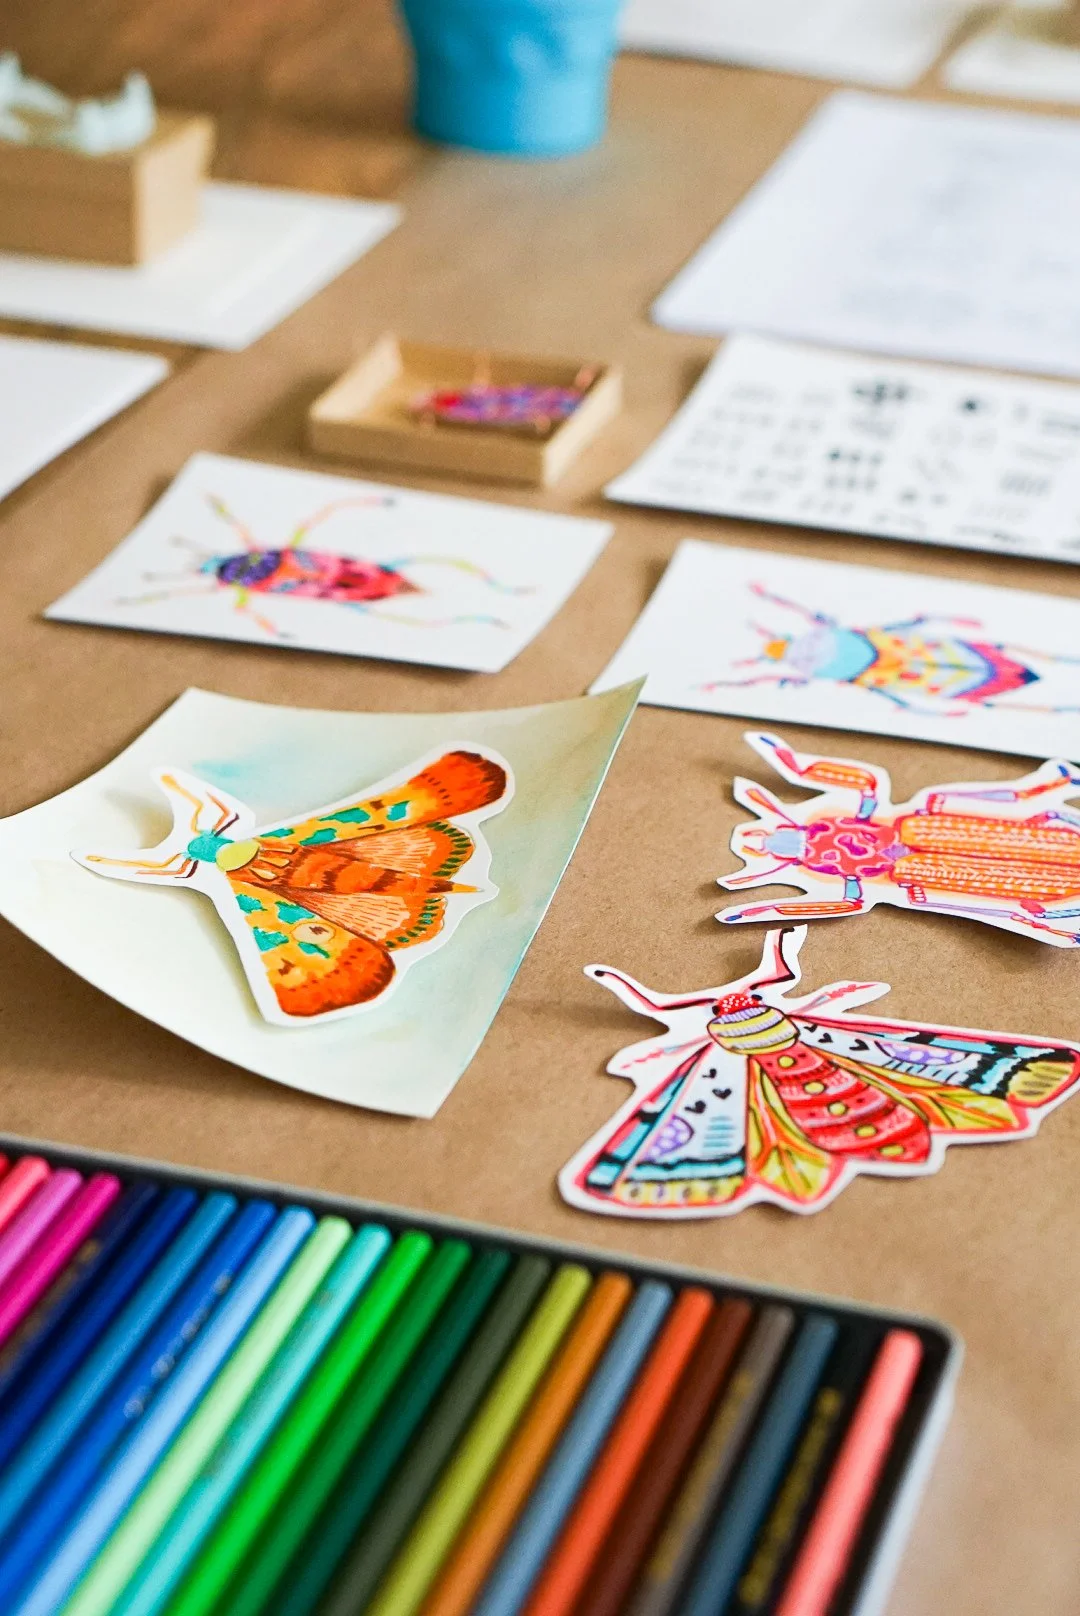
Student Gallery
AGE RANGE 6 - 12 YEARS OLD


Share your Bug Creations!
There is nothing I love more than to see what you create from one of our lessons. You can share with us on Instagram or through email.
@kensingercreative #bugoutart